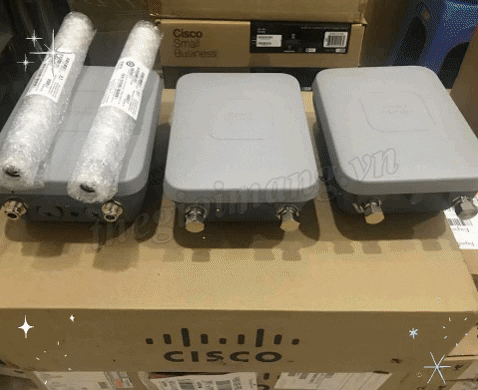
Bài viết này sẽ hướng dẫn các bạn chuyển đổi Cisco Catalyst 9100 series Access Point chạy lightweight AP software đến Embedded Wireless Controller (EWC) software. - Đầu tiên các bạn cần download software image từ cisco.com, đi đến mục Software Download và tìm kiếm model access point của bạn, chọn mục Embedded Wireless Controller và download C9100 EWC AP bundle image. - Giải nén file bạn tải được, trong đó sẽ bao gồm EWC .bin image (C9800-AP-iosxe-wlc.bin) và AP image (ap1g4, ap1g7…) cho Access Point, xem file Readme.txt để chọn file image đúng cho loại AP model của bạn. - Bạn cần cài đặt TFTP Server trên máy tính và bỏ các file cần thiết trong thư mục của TFTP Server. - Nếu AP đã có cấu hình bạn cần factory reset nó trước khi chuyển đổi, theo các bước sau : Tắt nguồn AP Cắm cáp console và mở serial session trên PC. Nhấn và giữ nút Mode/Reset trên AP. Cấp nguồn cho AP trong khi vẫn giữ nút Mode/Reset. Tiếp tục giữ cho đến khi màn hình console hiển thị sẽ ghi rõ nút đã được nhấn trong bao lâu. Cần ít nhất 20 giây để khởi động lại hoàn toàn. - Chúng ta sẽ đổi tên cho AP và cấu hình IP address. Username: Cisco Password: Cisco AP2CF8.9B5F.8628>enable Password: Cisco AP2CF8.9B5F.8628#capwap ap hostname AP1 AP1#capwap ap ip 192.168.1.14 255.255.255.0 192.168.1.1 - Bây giờ ta sẽ tiến hành load image cho AP, Ví dụ ta có TFTP Server có địa chỉ 192.168.1.25, ta sẽ sử dụng lệnh sau để load image. AP1#ap-type ewc-ap tftp://192.168.1.25/ap1g7 tftp://192.168.1.25/C9800-AP-iosxe-wlc.bin - Access Point sẽ bắt đầu copy software từ TFTP Server và tiến hành upgrade, AP sẽ tự động reboot lại. - Một khi AP khởi động hoàn tất bạn có thể tiến hành cấu hình ban đầu cho AP qua CLI hoặc Web UI Wizard. + Cấu hình CLI : nếu bạn muốn cấu hình ban đầu bằng CLI có thể sử dụng các lệnh sau. --- System Configuration Dialog --- Would you like to enter the initial configuration dialog? [yes/no]: no Would you like to terminate autoinstall? [yes]: no WLC2CF8.9B5F.8628#configure terminal Enter configuration commands, one per line. End with CNTL/Z. WLC2CF8.9B5F.8628(config)#hostname EWC ######## Cteates local user admin ######## EWC(config)#user-name admin EWC(config-user-name)#privilege 15 EWC(config-user-name)#password 0 Cisco123 EWC(config-user-name)#exit ######## Specifies credentials used to log into APs joined to this EWC ######## EWC(config)#ap profile default-ap-profile EWC(config-ap-profile)#mgmtuser username admin password 0 Cisco123 secret 0 Cisco123 EWC(config-ap-profile)#exit ######## Configures management interface IP address and subnet######## EWC(config)#interface gigabitEthernet 0 EWC(config-if)#ip address 192.168.1.15 255.255.255.0 EWC(config-if)#exit ######## Default gateway IP address ######## EWC(config)#ip default-gateway 192.168.1.1 ######## Enables web interface of EWC ######## EWC(config)#ip http server EWC(config)#ip http secure-server ######## Write to memory ######## EWC(config)#end EWC#write memory + Sử dụng Web UI Wizard : khi AP khởi động hoàn tất, nó sẽ broadcast provisioning SSID, bạn có thể kết nối sử dụng mật khẩu là "password". Dùng trình duyệt web và đi đến mywifi.cisco.com, sử dụng user "webui" và password "cisco" để đăng nhập và cấu hình ban đầu cho AP Wifi-6 Cisco. Có thể tham khảo cấu hình tại bài viết này. !!! Cám ơn các bạn đã theo dõi bài viết !!!